Lorex is known for its smart home video doorbells, security floodlights, and WiFi cameras. You can buy these products off the shelf and install yourself to provide an upgrade to your smart home security.
Many new products recently came to Australia, and we got our hands on two such products to give you a full run down on their tech, installation, and usage.
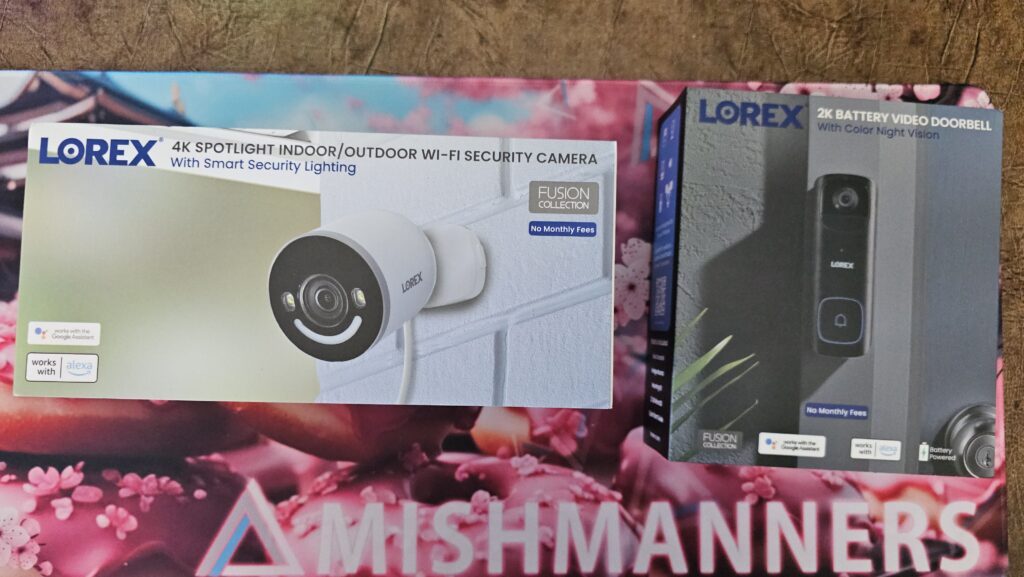
Here’s our thoughts on the Lorex 4K Indoor/Outdoor Spotlight WiFi Camera, and Lorex 2K Battery Video Doorbell.
Lorex home security
We recently posted about all the cool new smart home security products available to Aussies. When I had the chance to look into these products and chose a couple to review, I thought about what would be the most versatile and useful. We chose the Lorex 4K Indoor/Outdoor Spotlight WiFi Camera, and Lorex 2K Battery Video Doorbell as these provide decent home security without breaking the bank.
They are two such products that seemed fairly easy to install, and offered a good solution to the seeing who, and when there are people around our house.
Let’s check them out. We’ll look at each of these as a package pair because of the way we installed and set them up.
Unboxing
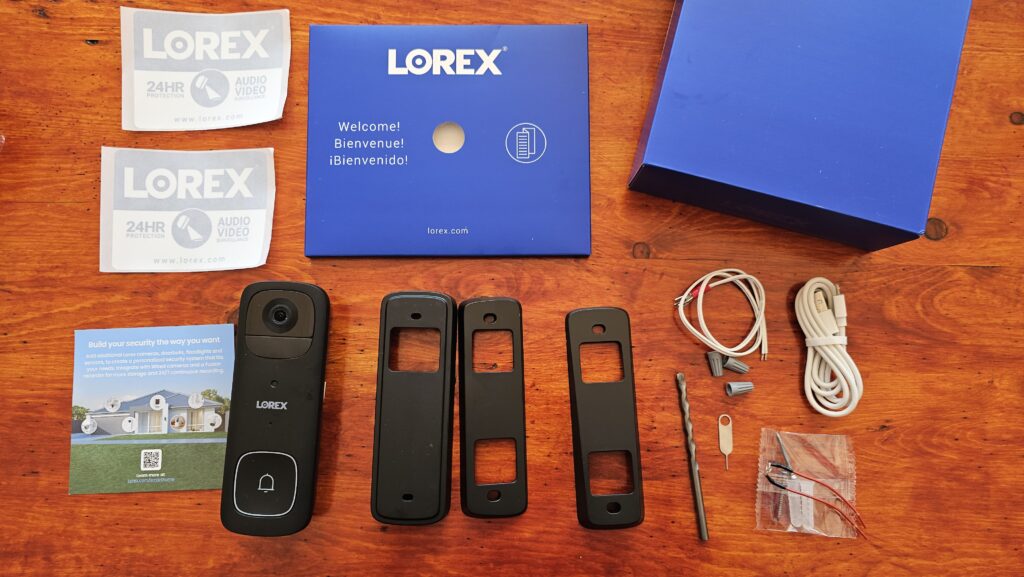
Each product came with exactly everything we needed to install them, aside from, of course, a drill or a screwdriver. We were surprised that the Lorex 2K Battery Video Doorbell even came with the drill-bit for the supplied screws.
The Lorex 4K Indoor/Outdoor Spotlight WiFi Camera came with a wrench. We read through all the instructions, and looked at every item, yet we couldn’t figure out the use of the wrench.
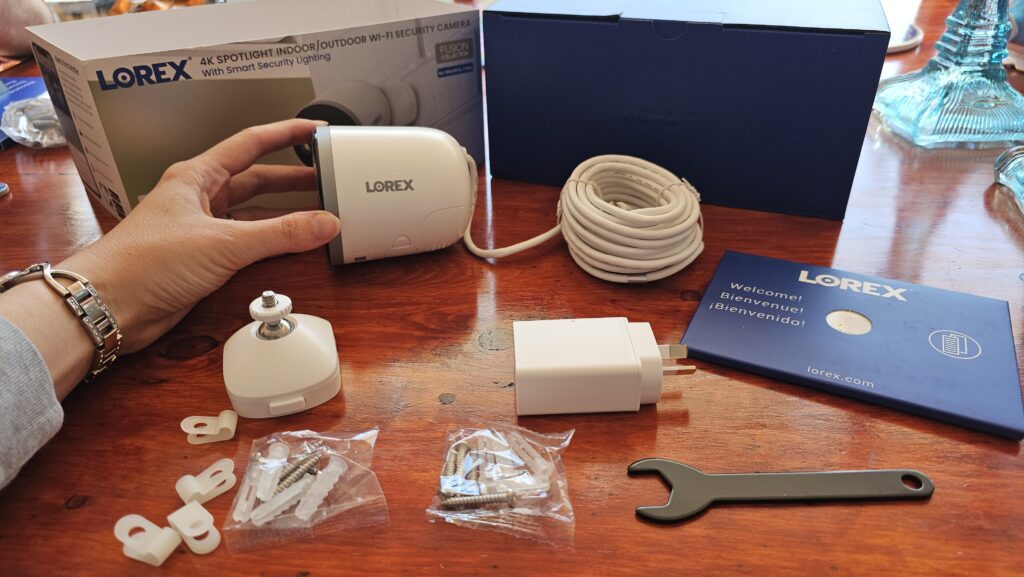
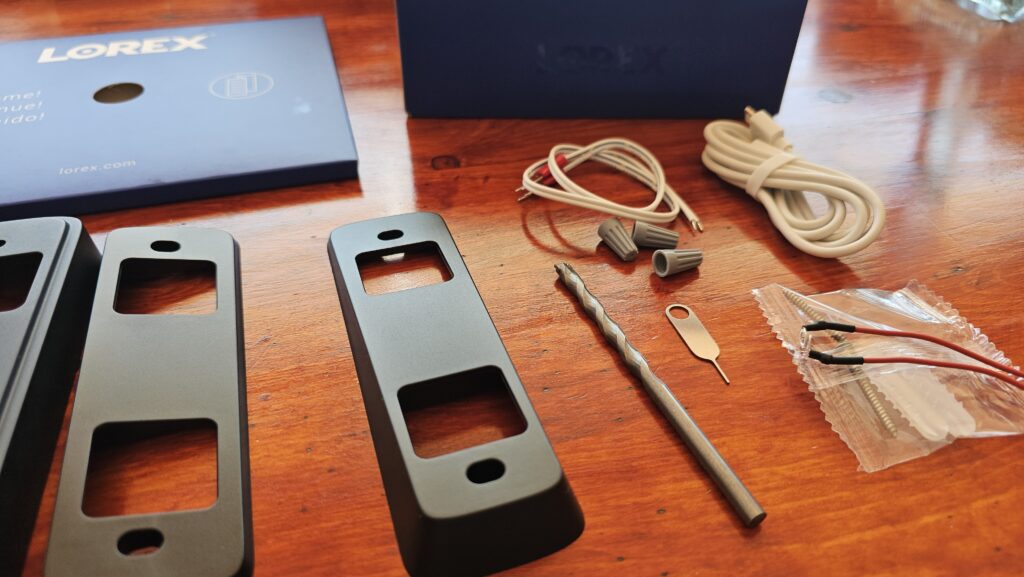
Both products came with “Lorex 24 hour audio/video” stickers so you can display them around your house. These are supposed to deter would-be thieves and let people know that if they are bold enough to steal things, they’ll be recorded. Each box came with plenty of options. For example, the Lorex 2K Battery Video Doorbell included plates so the doorbell could be mounted on a horizontal or vertical angle. This makes it versatile in where the doorbell can be placed. The Lorex 4K Indoor/Outdoor Spotlight WiFi Camera had plenty of hardware for mounting the bracket and cable routing clips.
Power types
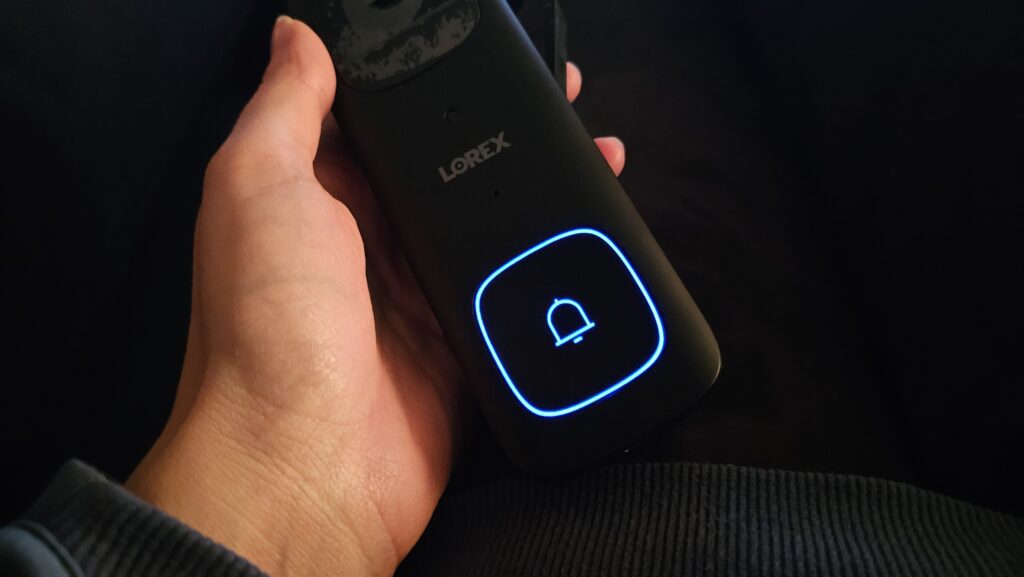
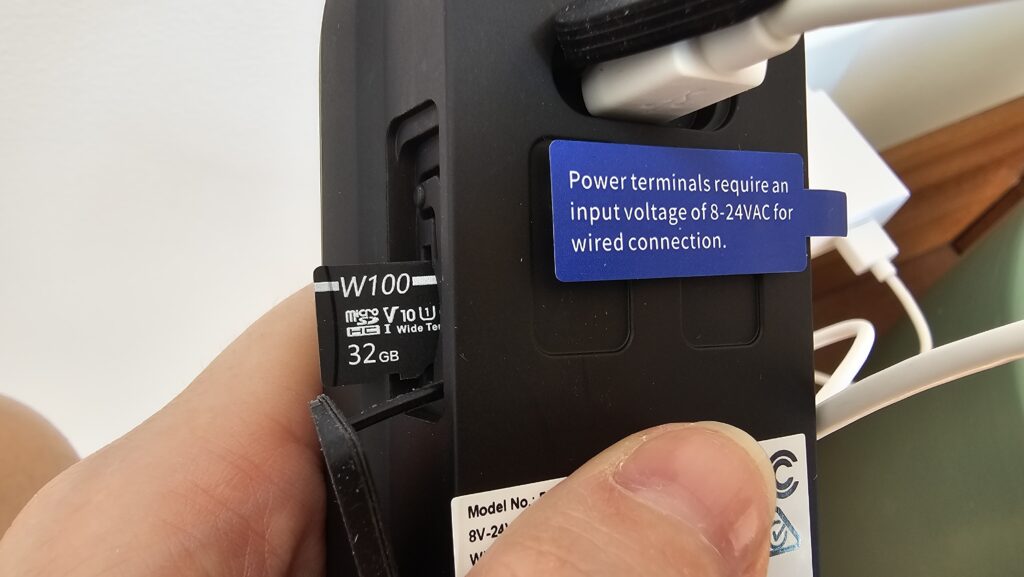
The Lorex 2K Battery Video Doorbell comes with two power options. Whilst the product is called “Battery Video Doorbell”, you can use the doorbell with both built-in (non-removable, but rechargeable) battery, or hardwired. Here, you can see the white and red wires for hardwiring the unit:
Whilst hardwiring is certainly possible, it requires a lot more work and a bit of soldiering. We had a spot for the doorbell on our front door and didn’t want to do this extra effort just to hardwire the camera. The instruction manual recommended using the battery rather than the hardwiring, so that was good enough justification for us.
We opted to go for the battery and put it on charge whilst we set about installing the mounting bracket. It took around three hours for a full charge, and should last between two to four months, according to the Lorex website.
Installation
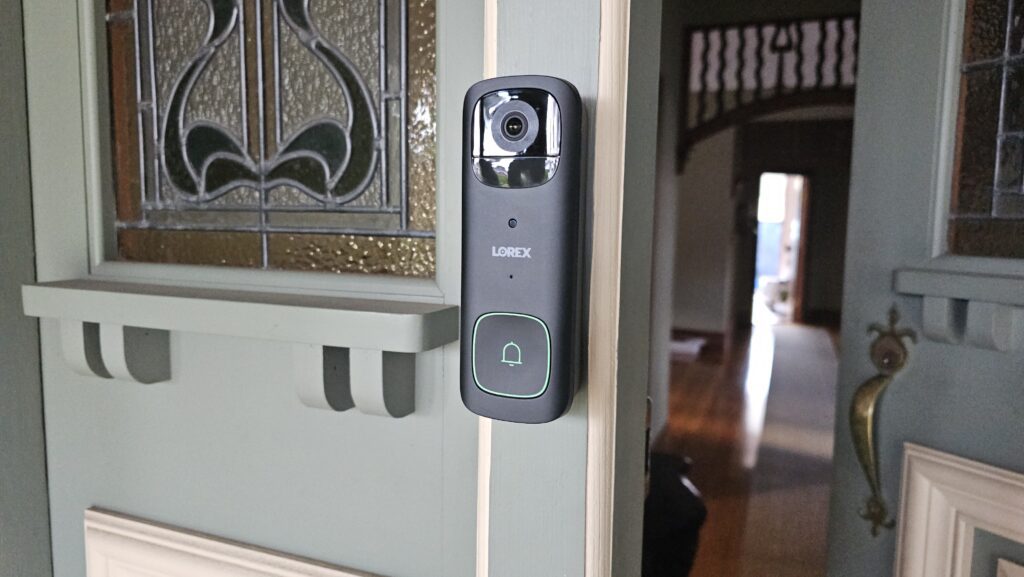
First up, installing the bracket for the Lorex 2K Battery Video Doorbell. Taking the mounting bracket, we tried it in a couple of places—above the existing door bell, or right next to the door. We opted for the second option. Having the bracket to move around and see what we liked really made this part of the process super easy.
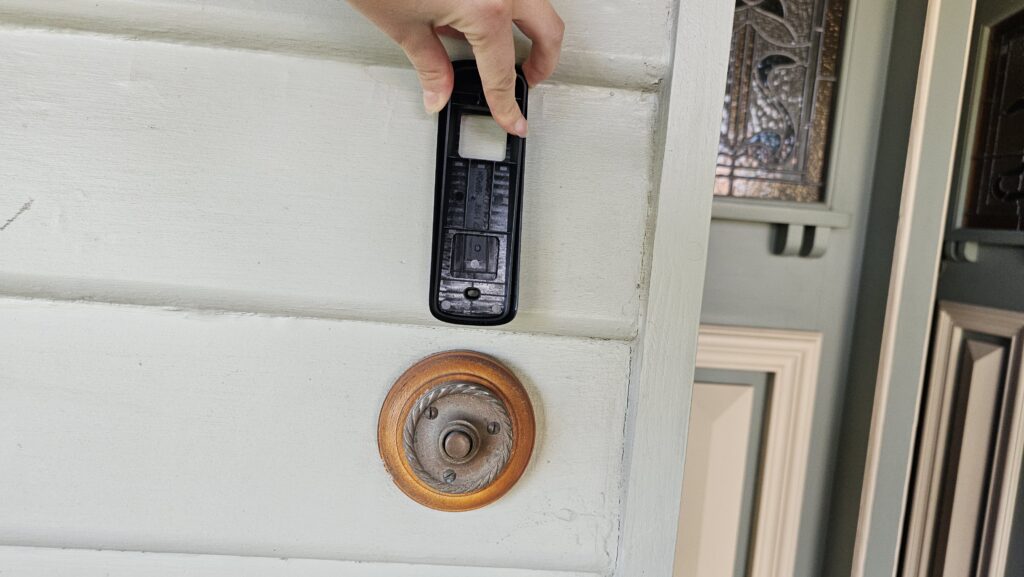
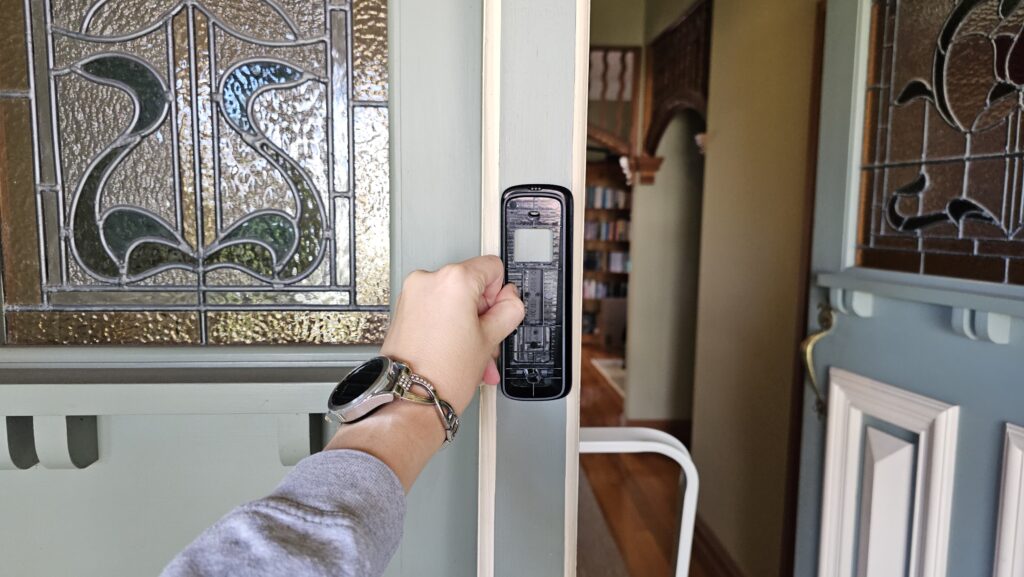
Only two screws were required here, and we had the bracket mounted in minutes. Installing the Lorex 4K Indoor/Outdoor Spotlight WiFi Camera took ever so slightly longer because we wanted to see the correct angle, and we wanted to have the light mounted high in the corner. This required getting the ladder out. Still this was an easy process.

We setup the camera so we could see the field of view before drilling the bracket into place. What I really love about this camera is the range of movement it has with the ball joint. Even after mounting, there’s a huge range of both lateral and vertical movement, allowing you to get the correct angle. The camera easily clipped into the mount and we were up and running.
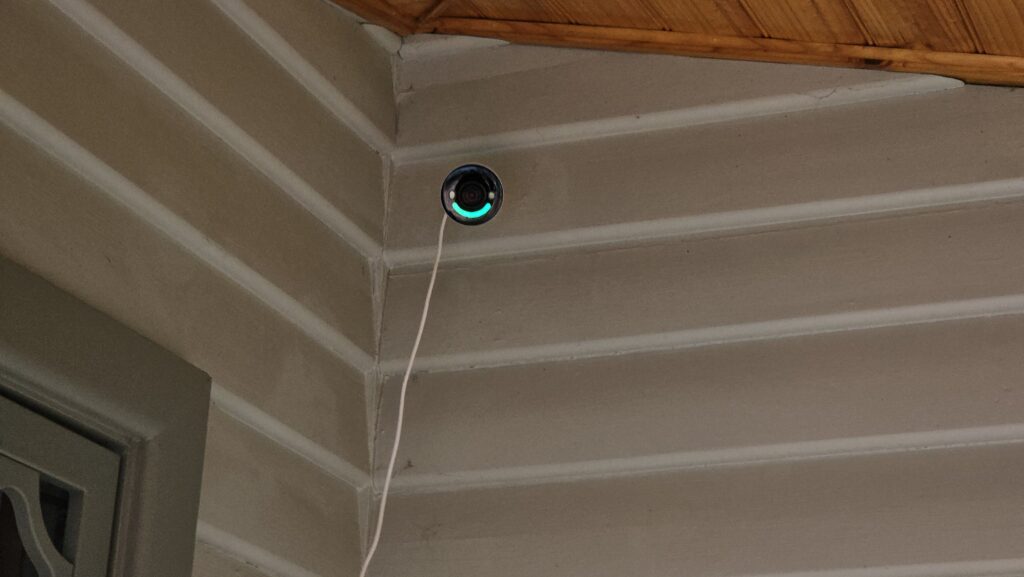
You can see we have the wire sticking out here. After getting up into our roof and discovering we don’t have a power point in this section of the roof, we opted to quickly set it up with the cable running to the floor. We have however organised to have the electrician come out and install another power point in the roof to ensure the cable is neat and out of range. You have plenty of options when it comes to running the cable. It’s a six metre long cable so you shouldn’t have to install a whole new power point if you don’t want to. The choice to go for a USB powered connection is an interesting one on Lorex’s part. We’ll be putting this in the roof and therefore we’ll probably need to insulate the cable and power socket. If you are running your cable inside your house, you’ll be okay to run it to your power point directly without worry about the USB connection being damaged.
After a few hours. the door bell was ready to go into its mounting case too:
Setup
Starting the Lorex app and connecting to both our devices was such an easy and smooth process. Firstly, I had to install the app, since it’s my first time using Lorex products. The app had a lovely UI, easy to follow and smooth.
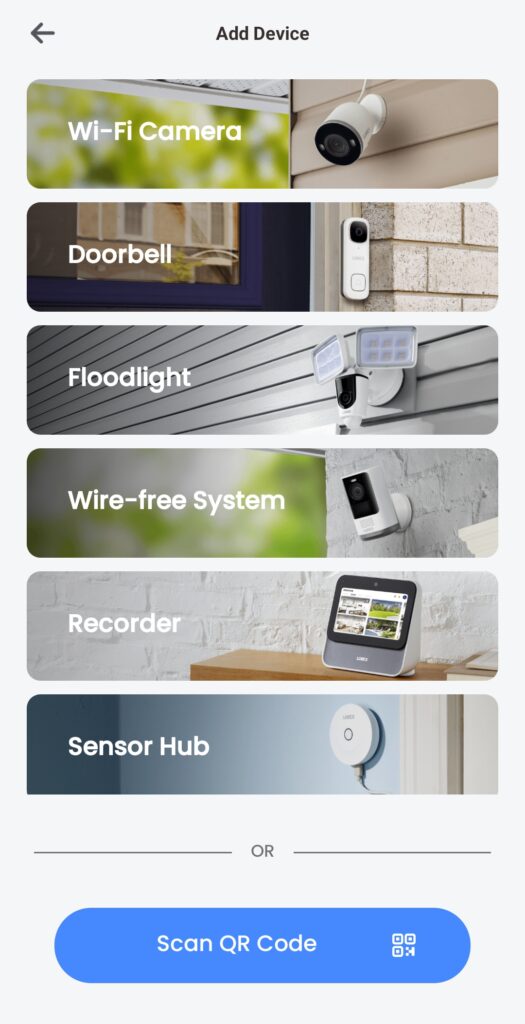
After signing up, enabling 2FA—you should definitely do this since these are security products, and I’d recommend using auth app instead of email since it’s much more secure—and getting excited that biometric login was supported, I can now add my devices. The application is well designed and aesthetically pleasing. When clicking add device, the screen looks nice and well laid out. I used the QR code option for both devices and this process was easy to follow.
There’s even the option of adding custom names to each of your devices:
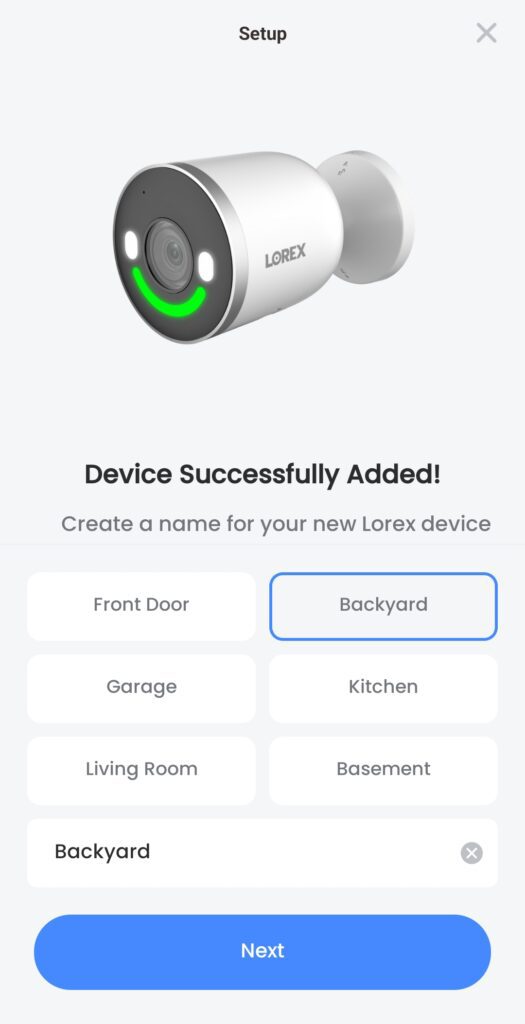
I ran with a generic name for both of mine, and we were up and running in no time. I was also very pleased to see the option of adding members to control your devices. I had my husband sign up for an account and add him as a shared user. My only slight annoyance is that you can’t share all your Lorex devices with someone, you can only share individual products. It also took me a little while to find where this setting was. Every other setting is initiative and quick to locate. I do like the various options for changing how to share a device from view, to full access.
If you get stuck with anything, there are so many help videos available.
Usage and technology
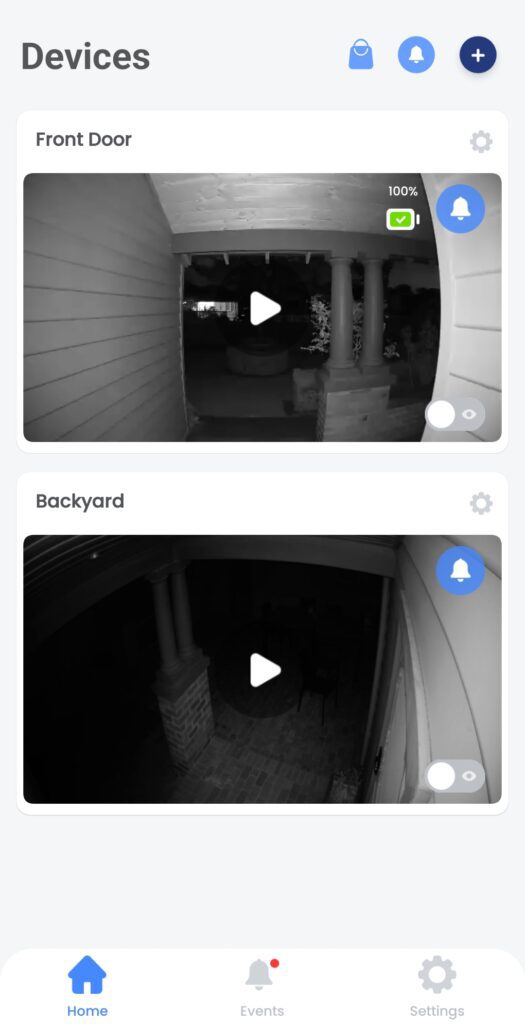
Having the application to view and use the devices was such an enjoyable experience. I was able to easily locate each device, adjust settings, and change how each device responds. Viewing the live feed was fun and you can see the number of options I can execute from taking a snapshot, to recording video, using two way talk, setting off a siren, or turning on the light (both dimmed or full).
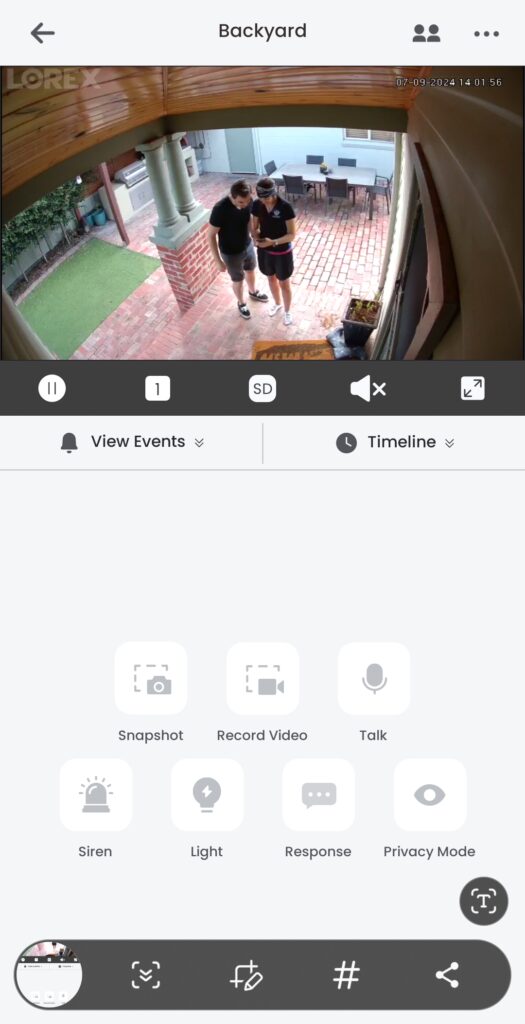
We both enjoyed the “Response” option where you can have the device give a set of predefined, recorded responses, such as “please leave the package at the door”. Depending on the device, there are also lots of options for the lights. Here’s the options for activating the light on motion for the Lorex 4K Indoor/Outdoor Spotlight WiFi Camera.
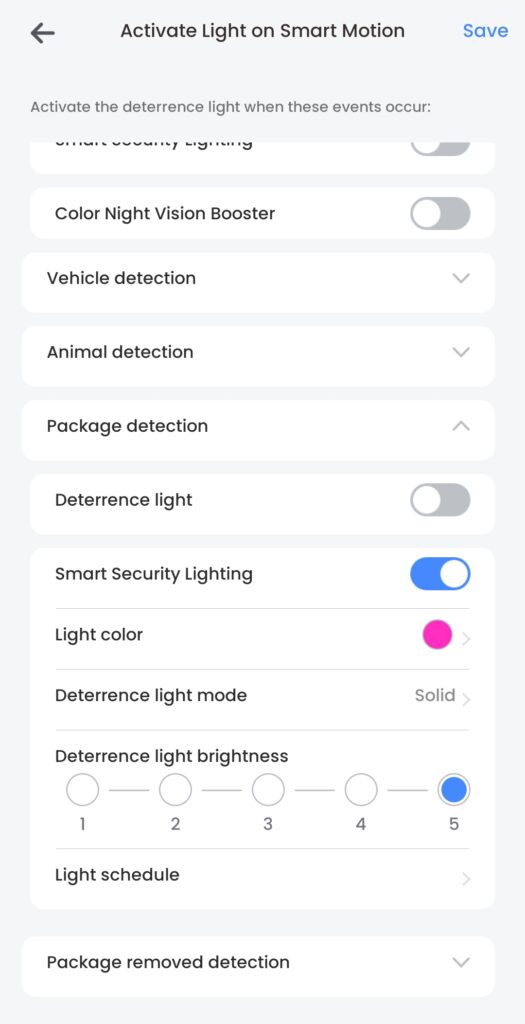
You can see this security light supports vehicle, animal, package, and person detection. The Lorex 2K Battery Video Doorbell only supports person detection. The Lorex 4K Indoor/Outdoor Spotlight WiFi Camera does 16.7 million colours for the little light underneath the camera.
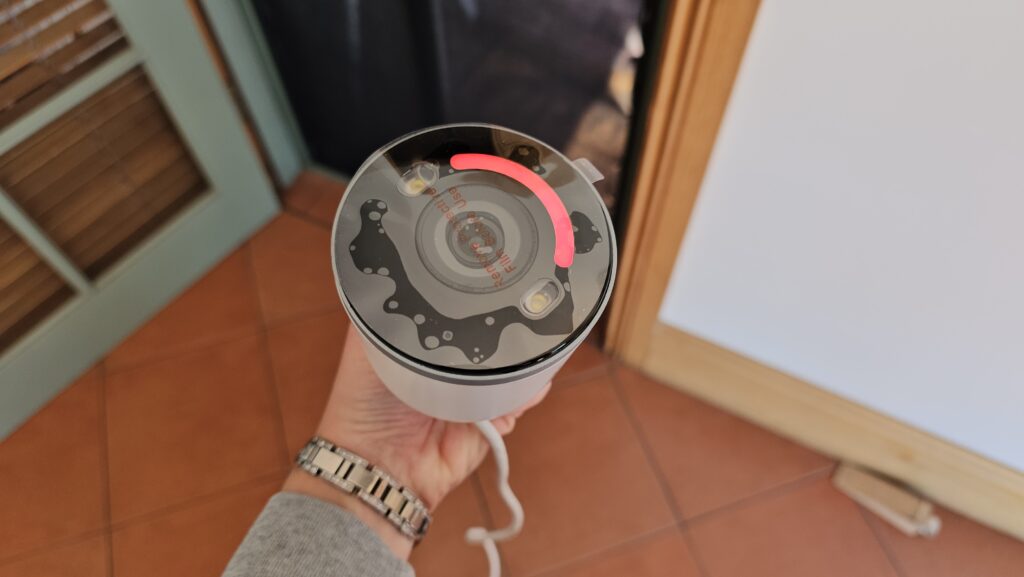
Whereas the Lorex 2K Battery Video Doorbell will turn a light on in the dark for person detection. Both Lorex devices have been incredibly handy for turning on the lights for us at night.
Video and audio recording
Both Lorex products support video and audio recording, as well as two way audio. The Lorex 2K Battery Video Doorbell doesn’t do continues recording to device in order to save power. Each device takes snapshot recordings for person or object detection and will send these to your phone with a notification if you have enabled that setting.
I am also blown away by the quality of the video recording. Yes, it says either 4K or 2K video, but until you see it, you’ll understand how cool this is. Even in the dark, you can see how good the camera quality is.
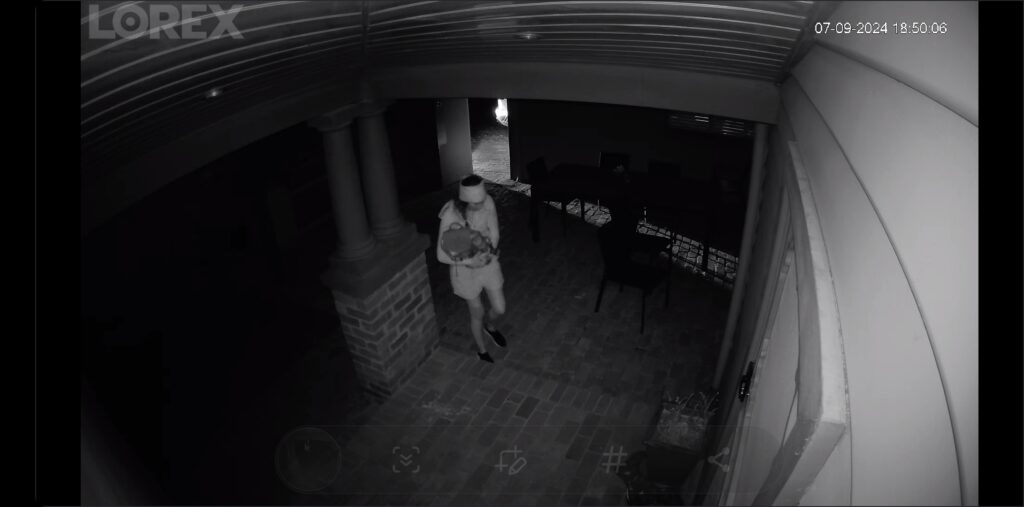
Both devices support low light (night mode) camera recording. The application allows you to view all your camera feeds at once:
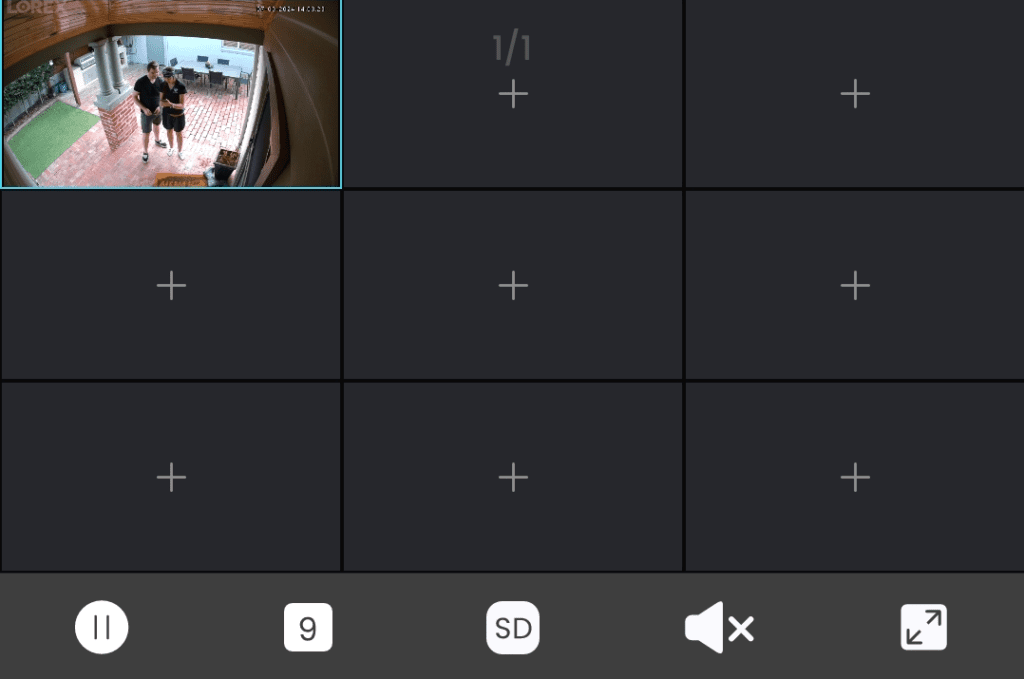
And the app can support up to nine devices been shown simultaneously:
Lorex products have both onboard and cloud storage. If you want to utilise cloud storage, you’ll need to sign up and pay for a subscription. Otherwise, you can use the built-in storage. The Lorex 2K Battery Video Doorbell and Lorex 4K Indoor/Outdoor Spotlight WiFi Camera come with a 32GB SD storage card. You can upgrade this by purchasing a storage card up to 256GB.
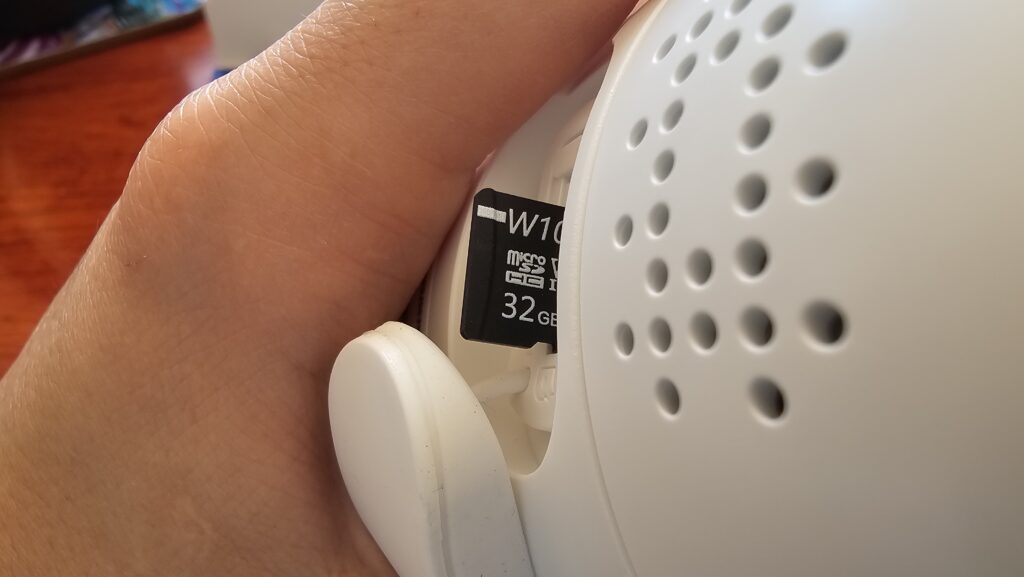
The storage cards are relatively easy to access. Keep this in mind when choosing to go cloud or onboard. Whilst you review thumbnail recordings to your phone, those only last for three days, and the storage cards aren’t secured into the device, and therefore would be easy to remove if desired.
Verdict
Overall, these products really helped upgrade our house to be a smart home. We are now able to see who is at our house, have a two way conversation, set different motion detections, and receive notifications about activity around our house. It wouldn’t be out of place for me to want more of these. They are so easy to install and super easy to setup. The technology is great, and there are so many options. If I wanted to have more products, I could easily go another Lorex 4K Indoor/Outdoor Spotlight WiFi Camera.
Whilst I love these cameras, they aren’t exactly cheap. The Lorex 4K Indoor/Outdoor Spotlight WiFi Camera is $317.00 AUD and the Lorex 2K Battery Video Doorbell is $327.00 AUD. If you are kitting out a large house and you wanted full security surveillance, you’ll quickly spend into the thousands of dollars.
If you’re starting from scratch, there are plenty of bundles to purchase to help you get going. Or start with one camera, see how you go, and add more along the way.