What’s better than an 8K TV? An 8K TV with visually and sound responsive lights that’s what! And Nanoleaf is here to deliver. The Nanoleaf 4D lights mirror your television to mimic the colour that is displayed on screen. So how does this work? Does it provide an immersive feel, or is it simply gimicky? We got a set to try out for ourselves.
Unboxing the Nanoleaf 4D lights
First things first, buy the correct kit! The Nanoleaf 4D lights come in two sizes, “Up to 65” for $89.99 USD, or “Up to 85″ for $109.99 USD. We have a 75” TV and made the mistake of getting the “Up to 65” kit. Whilst it still works, there was a small limitation; more on that in a bit.
Unboxing the lights were fun, with Nanoleaf’s beautiful box designs. I’m always tempted to keep the boxes because they look so good. Then I realised I’m hoarding!
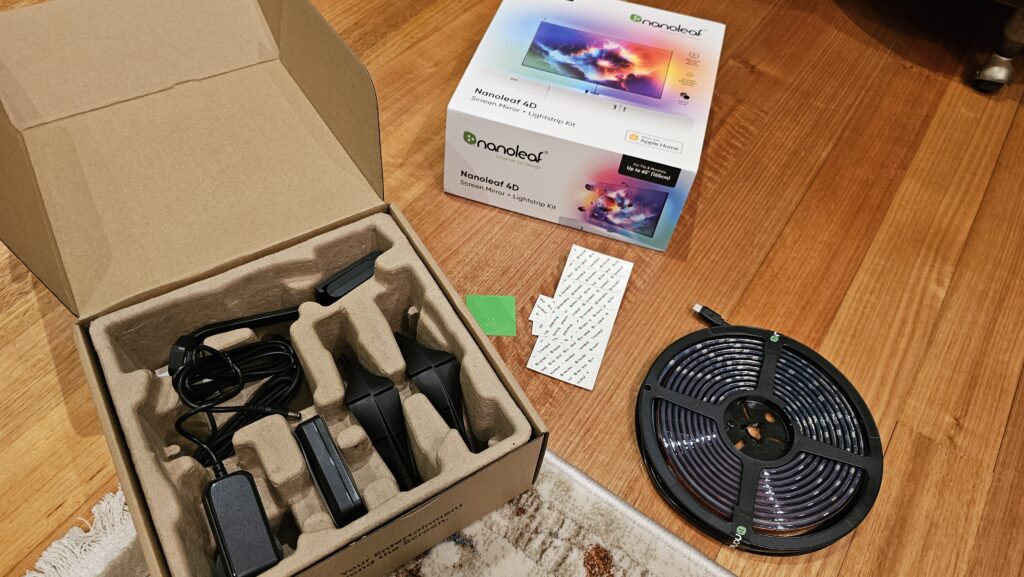
The box comes with everything you need to setup your smart light kit. No need to purchased other tapes, screws etc. it’s all there for you. When you unbox it for the first time you might be thinking “okay what’s all this stuff, seems like a lot for a strip of lights”. But it’s all useful things and you’ll need it to get the full experience of the Nanoleaf 4D.
Installing the lights
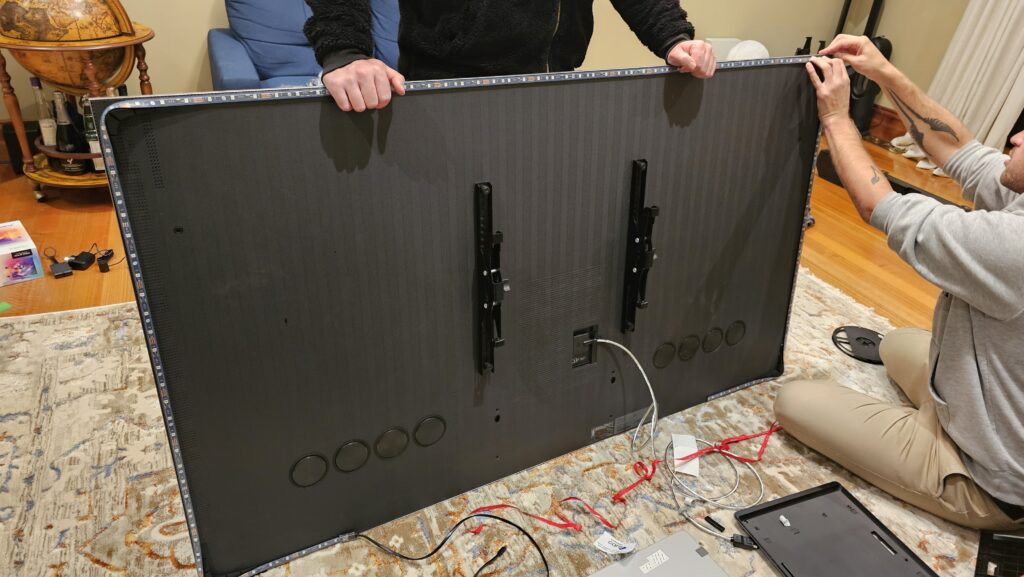
Attaching the lights to the TV is relatively straightforward. The hardest part will be balancing your TV if you don’t have a stand (ours is mounted on the wall so we had to have one person balance the TV whilst two others attached the lights). Using the included tape, we can the lights around the edge of the TV. One of the coolest things is the corner mount brackets. If you’ve ever tried to put LED lights on a square or rectangular object, you’ll know it’s ‘fun’ when you get to a corner and have to bend the light.
Nanoleaf solved this problem with a corner mounted bracket.
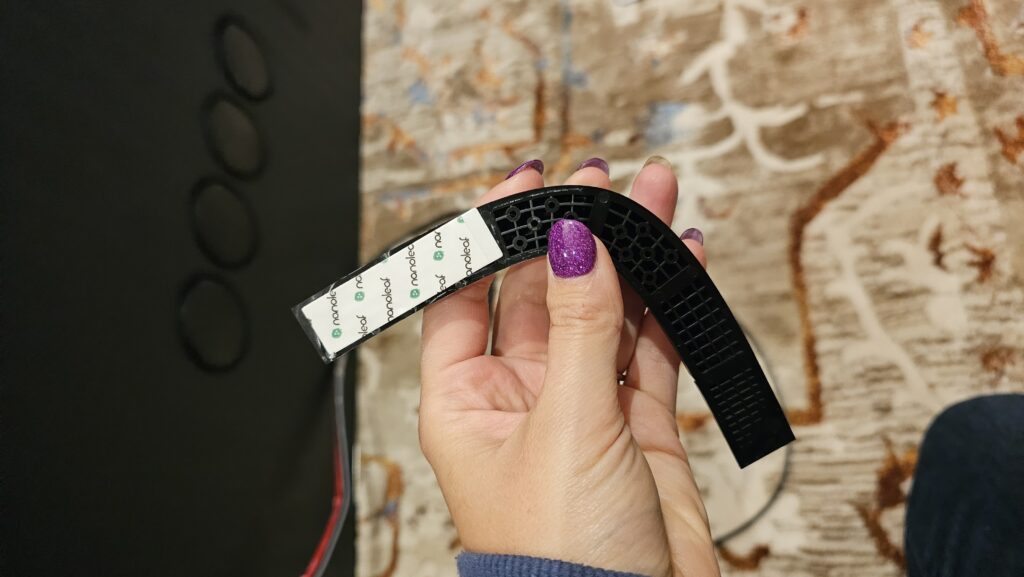
This corner bracket sits on each of the four corners of your TV. We used the included tape to attach it as close as possible to the corner of the screen.
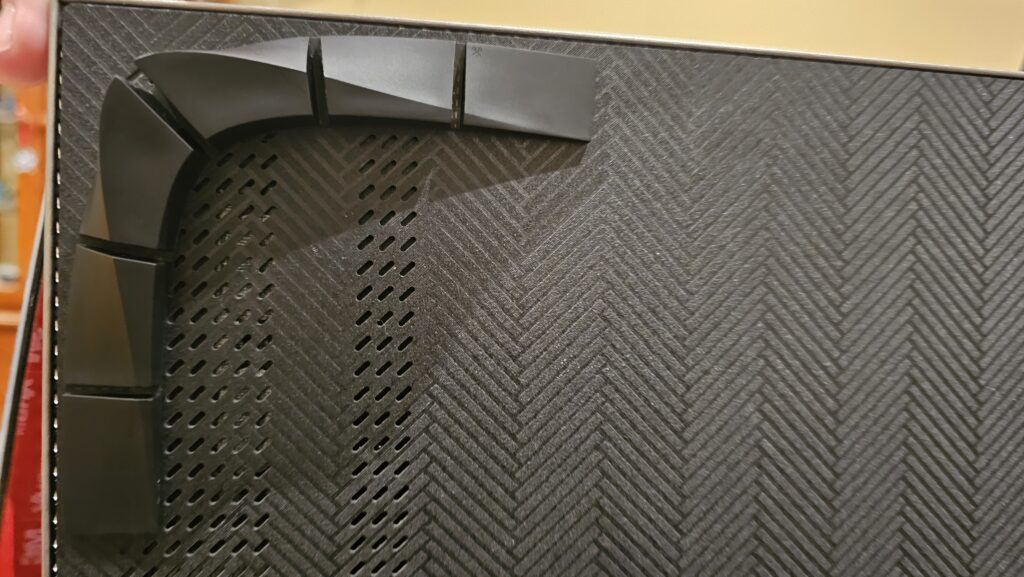
Once this was in place, we ran the lighting cable around the bracket.

This was definitely one of the best things about the Nanoleaf 4D lighting. It’s an innovative way of ensuring the lights are in the correct position and doesn’t place strain on the strip.
It was a bit too short
As mentioned, landed with the “up to 65″ kit, when we have a 75″ TV. Whilst this isn’t the most ideal situation, it’s also not the end of the world. We decided to have part of the bottom unlit which worked out okay since we have the sound bar sitting underneath the TV. If you are purchasing a kit and your TV is larger, for example you purchase an 85″ kit for a 75” TV, run the lights around the TV and then cut the strip at the excess. The lights are designed for this and even show cut marks where users can safely cut the strip.
Turning it on
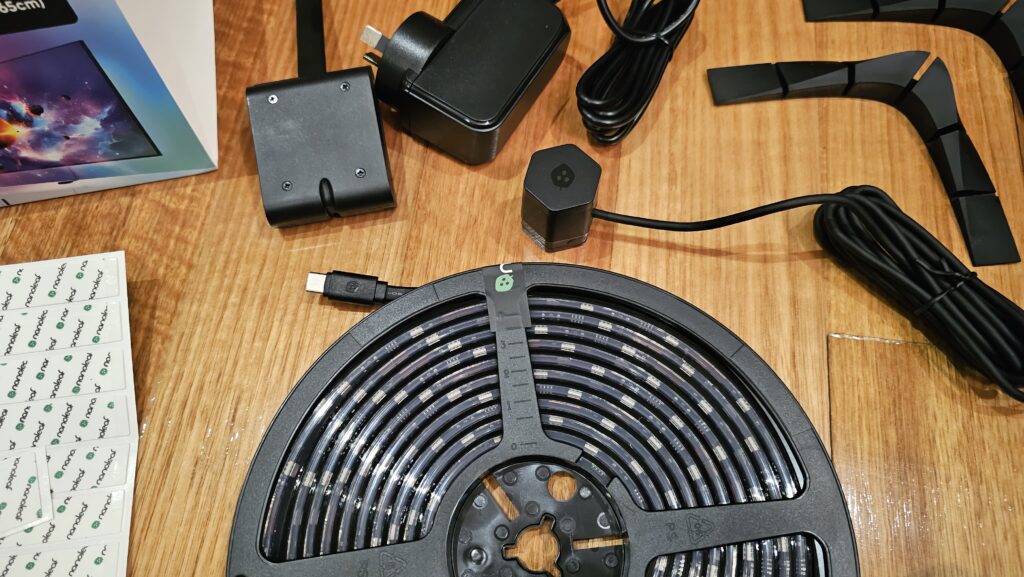
One of my favourite parts of unboxing is the first time you turn something on. And let me tell you it was an experience. There’s an included function control box with the Nanoleaf 4D lights.
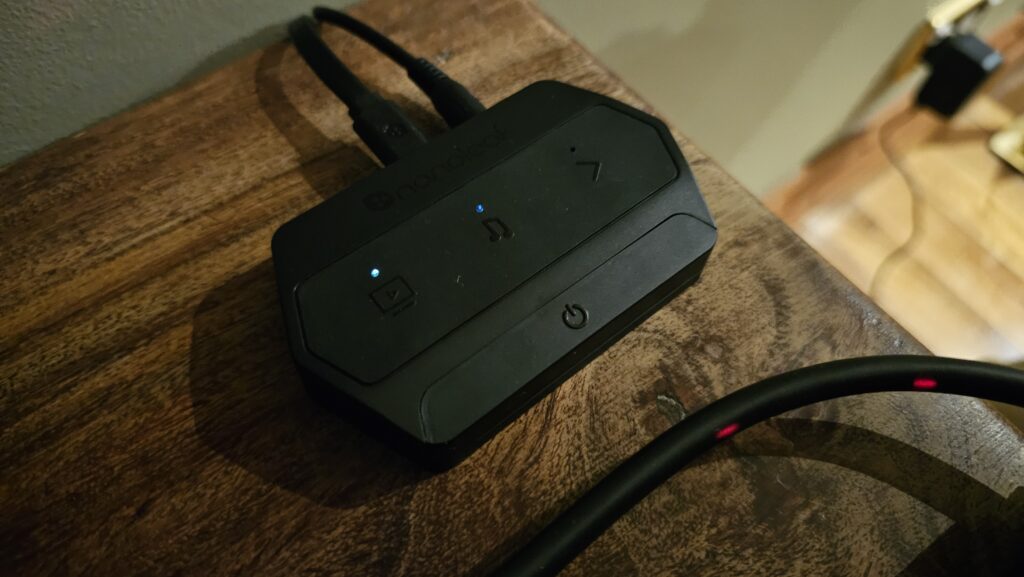
We turned this on and voila, the lights work. There’s a bit of a process to get the lights setup to work with the application but it’s worth it.
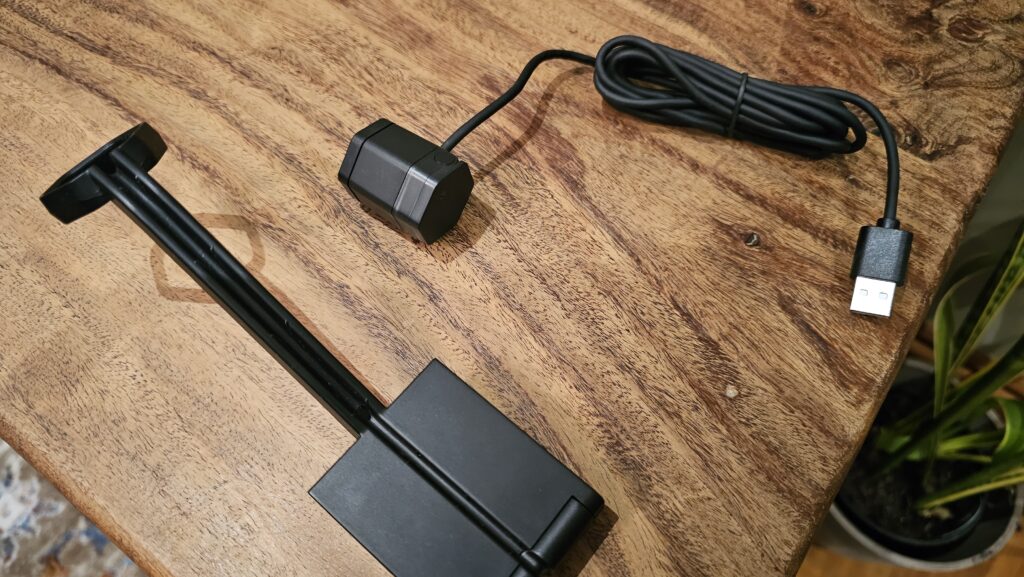
Firstly, you’ll need to plug the camera in and place it either below your TV (where we decided to place it as it was more concealed), or above the TV using the included mount. Point the camera towards the TV and use the Nanoleaf app to finish the setup.
Setting up with the Nanoleaf application
If you wanted, you could decide not to use the included camera. If you did this, you wouldn’t receive the full 4D experience, and instead would have random light sequences. The camera is designed to look at what’s on the screen and then mimic the colours it sees to create an immersive experience. What do I mean by that?
This is the Nanoleaf without 4D:
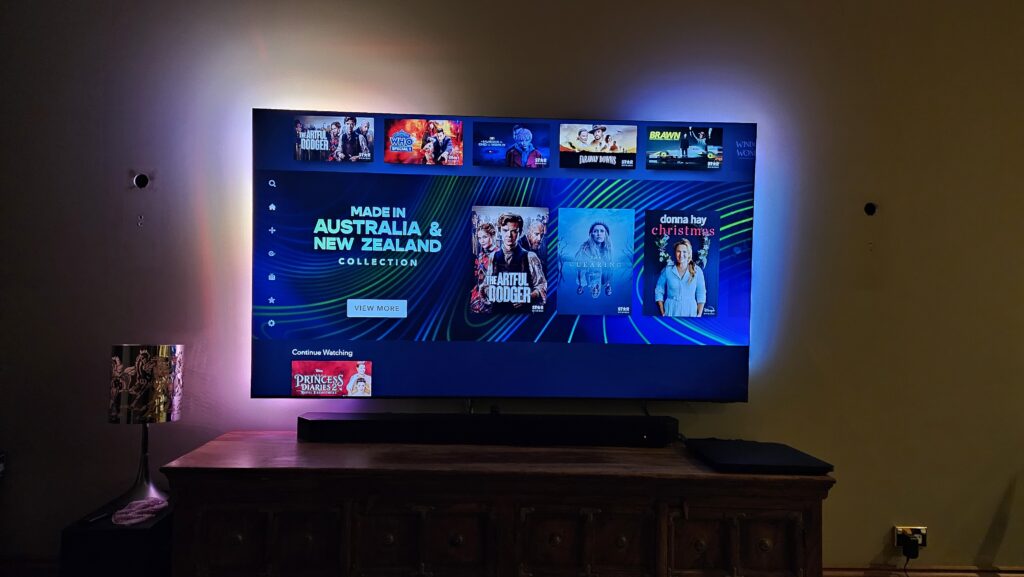
And this is the Nanoleaf with 4D:
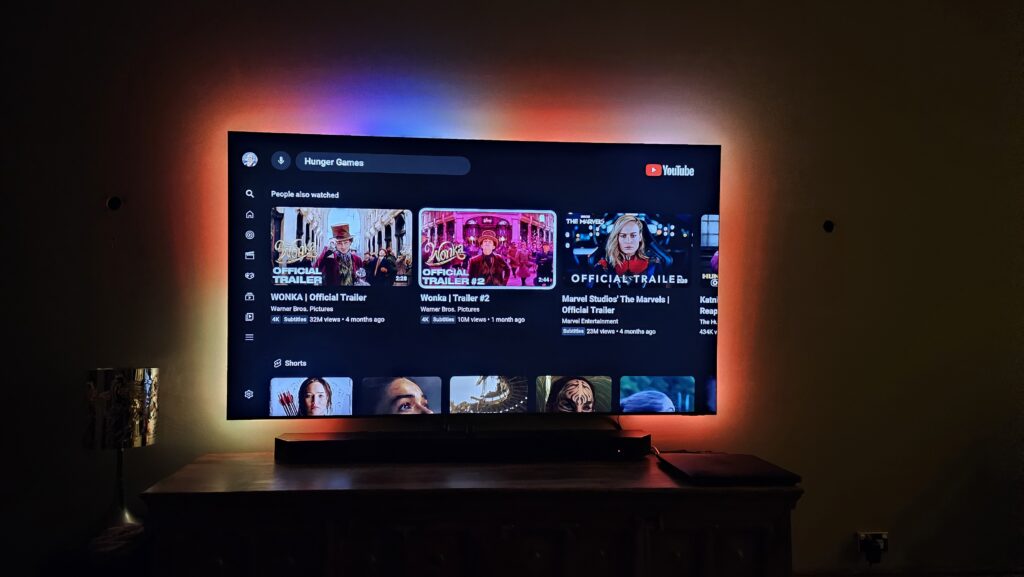
The colours more match more what’s on screen to create a dynamic feel. Is it gimmicky? Kind of. Is it cool? Yes! Whilst I wouldn’t use it to watch a movie, I would certainly use it for some chill vibes. By using the app, you can calibrate where the screen is and then set how you would like the rights to react. Do you want it to react to music, light, dynamic, 3D, 4D? There are plenty of options to choose from.
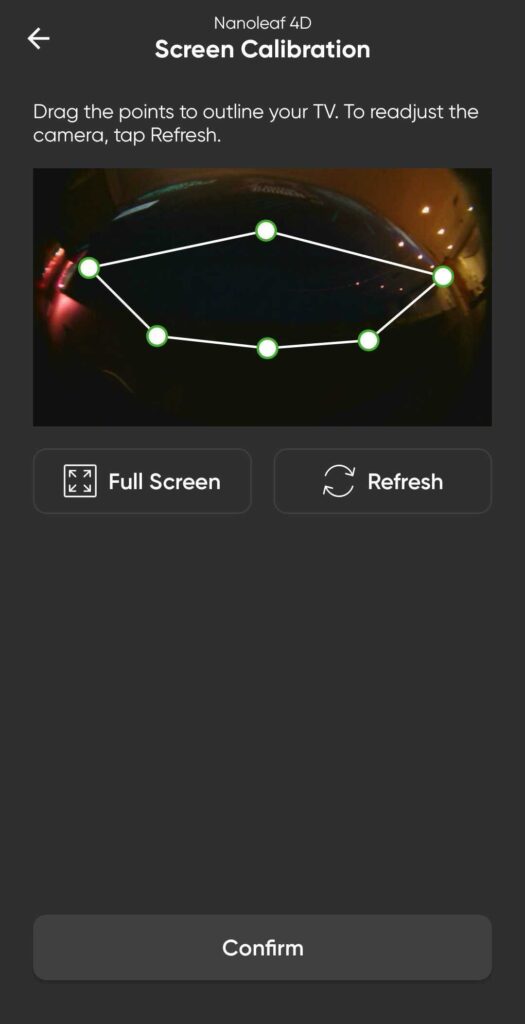
A hot tip for calibrating your TV is to open a blank blue or green screen and use it to get the outline of the TV screen. Also make sure there’s not much lighting in the room. Since we had the camera down the bottom of the TV it didn’t come out perfectly, but it’s good enough for what we want.
Verdict
Yes, it’s a little gimmicky, but all fun and cool technology is. I love this and I’m glad we decided to put it on our TV. Whilst we’re not using it to watch movies, it makes for a great party night with the tunes blasting and the lights moving.
I’m also really excited to see the new Nanoleaf technology as they announced some pretty cool things at CES 2024. I can definitely see some Nanoleaves being integrated into Christmas lighting this year.