In November 2020, Google announced a change to Photos that impacts the storage and backup plans for millions of Android users.
Starting June 1st, any new photos and videos that are uploaded to Google Photos will count toward the storage quota. This is a big change for Android users on free plans, as well as Google One users on paid plans. If you currently backup the photos in your Camera Roll, you definitely want to pay attention.
This change means that many will need to start paying Google for additional storage, which makes alternate storage options a serious possibility. One such option is to use a Network Attached Storage (NAS) device, like the Synology DiskStation DS220+.
This is a 2-bay NAS that accommodates generous hard drive capacities, in a form factor that’s small, and is easily at home in any home office, or even next to your router. Storing data is one thing, but there’s some seriously compelling features on offer with Synology’s upgraded DiskStation Manager (DSM7).
This offers a suite of software applications like Synology Photos that combined with the associated mobile app, becomes a really viable replacement for Google Photos, device backup and more.
Synology provided 2x Seagate Ironwolf Pro 2TB drives for testing and in a RAID0 configuration, that offers 2TB of redundant storage.
For the past couple of weeks, I’ve been living with the NAS on my desk and it’s time to break down how it works. Before we get into it, you should know you can actually win a free Synology NAS by completing a survey before June 30th.

DESIGN
Compact and professional
The designers at Synology have a fairly easy job, with many of their storage solutions using a familiar design and hey, why not, it works. The DiskStation DS220+ is compact in size, allowing for enough room to house the 2 hard drive bays, along with the required connections.
On the front, you’ll find a series of LEDs that ensure you’re always aware of what’s happening inside. What’s neat is the drive bays are covered by a removable panel. This resolves the front of the device really well, making it much more acceptable if this gets located in view of visitors to your home. Should you need to replace a drive, it’s a quick and simple process to remove this panel.
I also appreciate the front USB 3.0 port on the device. Not only can this be used to insert USB storage devices to copy data off (dedicated button), but it is also really convenient if you need to charge your phone, or device like a GoPro when at your desk.
On the back, it’s all business, with a large cooling fan at the top, with 2x Gigabit Ethernet ports allowing you to connect to the drive from your home network, providing the fastest file transfer speeds available. We also find another USB 3.0 port great if you have an external hard drive you’d like to hang off the NAS and of course there’s power.
If you find a use for this in a small business, you may want to consider securing the device using the Kensignton security slot.
Overall the design is really professional with it’s black chassis, it’s likely to blend in with the other electronics around it. I appreciate that it doesn’t try to hard to get attention, there’s no RGB LEDs, it’s all about utility and function, than yelling look at me.

FEATURES
Stand out features of this device.
Synology have done a great job of combing hardware and software to deliver a lot of great features. What’s also great is how simply they’ve made the setup, with many NAS configurations requiring a degree in Linux, the DS220+ is a breeze.
To get started, just connect the power and network cable to the device, with the other end connected to your router. Next, you take a quick visit http://find.synology.com and your device will be discovered, allowing you to commence setup. From there, you proceed through the setup, configuring user accounts, shared folders and importantly what type of configuration you’re after. Personally I went with a standard RAID0 setup, to ensure the data I backed up, was replicated across both drives.
If you choose to, you can activate remote access and setup QuickConnect. This allows you to visit QuickConnect.to from any browser and enter your unique ID. Once you do, you’ll be prompted for a username and password, which then gives you access to your data, from anywhere in the world.
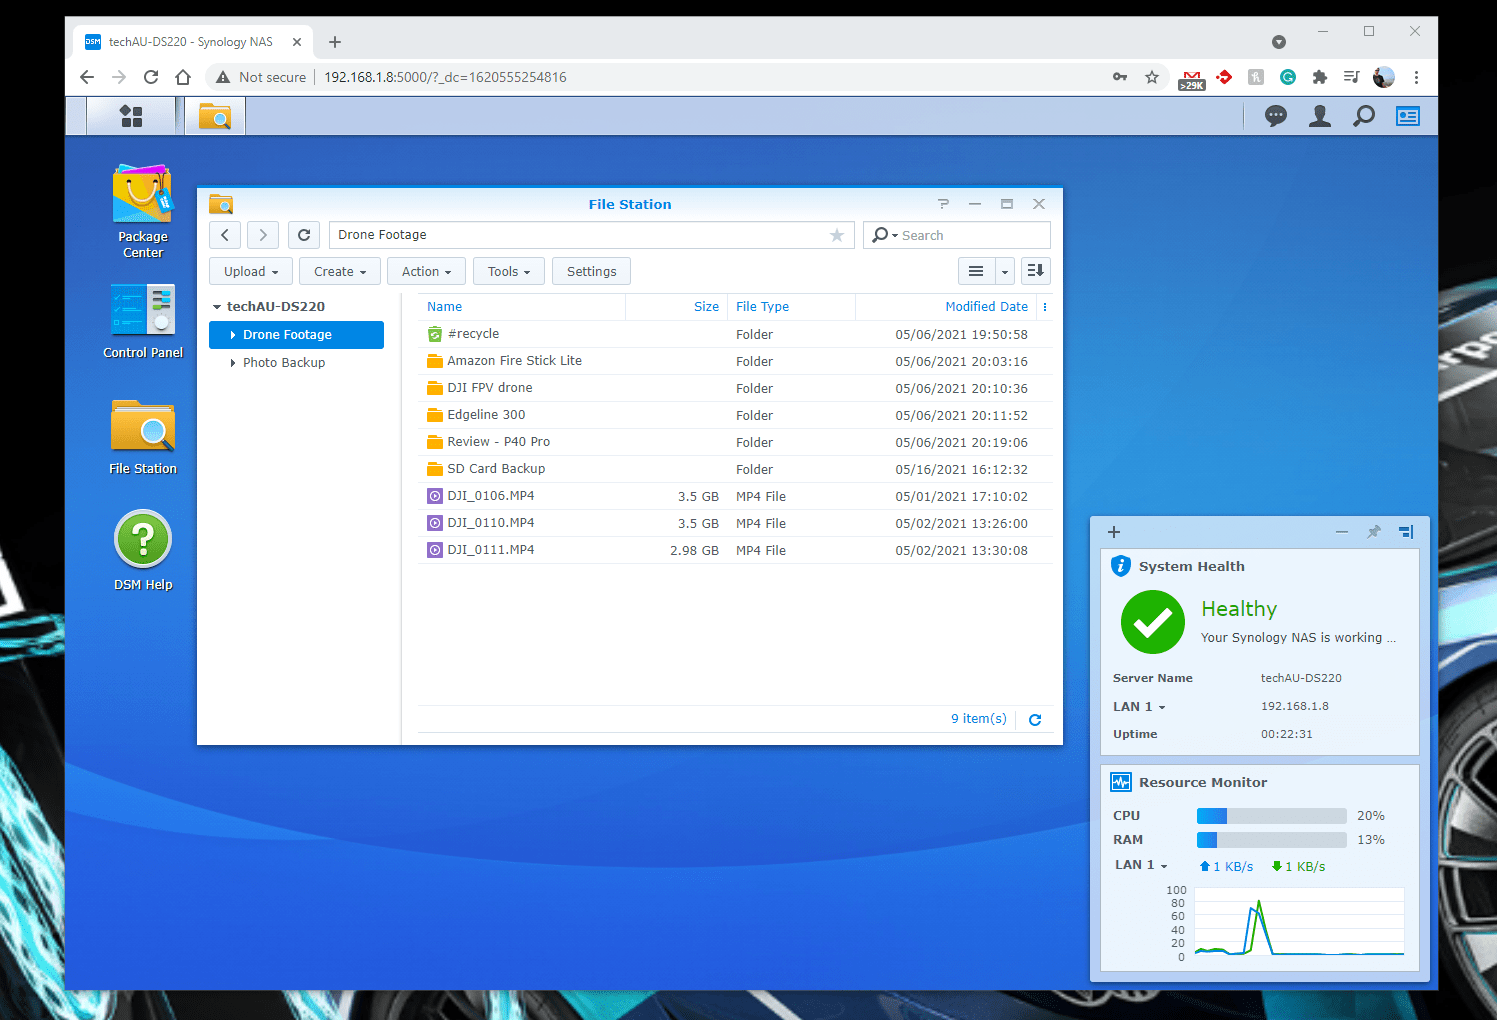
Uploading data is just the start, it’s when you break open the Package Center app that you discover the full capabilities of what you just bought, everything from an archiving solution, to even being able to run a web server like WordPress.
Synology Photos
This app is the real rock star of the solution when it comes to replacing Google Photos. This app installs in seconds and then you can grab the associated mobile app on your phone and enable photo backup. You sign into this app using the simple QuickConnect ID and credentials above, making the whole ecosystem secure and simple.
What I love is that the background sync is configurable to only occur on WiFi, when your connected to power (like charging overnight), or if you need it to be immediate, over cellular. It’s also smart enough to know what photos are backed up, so if you need to free up space on your phone, it’s a single button to make it happen.
Something I loved about Google Photos was the ability to refine photos based on the location they were taken at. Thankfully Synology also offers smart Albums, automatically sorting your photos into folders like ‘Places’. This really helps you track down the photo you’re after rapidly.
My other feature with photos is basically a must-have, which is facial recognition. It has been so great to be able to get albums automatically created based on the system identifying my 3yo daughter’s face, saving hundreds of hours of work to curate this manually. You do have to enable this in Synology Photo settings before facial recognition is active, a great example of Synology understanding this may not be something all customers are comfortable with.
The Synologoy mobile app even supports playing photos back to AirPlay or Chromecast devices, so you can play a slideshow for the whole family on you big screen.
More information about Synology Photos here.
Effortless Data Sharing & Synchronization
When you add a device like this to your home network, it’s likely that you’re whole family will need access to share, and sync their data from various devices, even if they are across different operating systems. You can give different permissions to different folders, say, work files versus family photos. Having this level of control over the shared folders and users that can connect to the storage (and applications), makes this NAS feel much more like a business appliance in terms of capabilities.
Connecting to the device is a breeze and can be done a number of different ways. If you’re on a Windows PC, you can use \\deviceName in Windows Explorer to get to the list of Shared Folders, then map the relevant drive. Once you’ve configured this, it’s easy to setup Windows backup to point to this location and ensure your files are always backed up. The story for Mac users is similar, just fire up smb://deviceName in Finder.
If you don’t want to use the standard SMB option, there’s also AFP, NFS, FTP, rsync for more advanced users.


ISSUES
Not everything’s perfect
When considering a NAS to replace Google Photos, it seems like a monumental task, given, well, they’re Google, so how could you possibly replicate that service. In reality, connected NAS devices like the DiskStation DS220+ solve issue of drive failure, but they are still prone to single point of failure. One example of this is your internet connection. If your ISP has an issue to your home and you attempt to access photos or work files on your NAS at home, you’ll be out of luck.
With a service like Google, they have networking infrastructure that means you have geo-redundancy in your data and if the Sydney datacenter was offline, your request would be routed to the copy in Melbourne. Not having this is an edge case, but can be important to some, so is worth highlighting.
Something else to be aware of is your responsibility to get the device out of your home, should there be a flood, fire, or worse, theft. If the files on your NAS are backups, but also stored elsewhere, like a laptop that lives with you, then this isn’t a problem, but it could be in certain circumstances, and nobody likes data loss of any kind.

PRICE & AVAILABILITY
How much and when can you get one ?
The Synology DiskStation DS220+ is available now Synology’s Amazon Store, for A$589.90. The cheapest place we were able to find the device was at Mwave, who has it on sale right now for A$519.00.
You will then need to add a couple of drives, which vary considerably based on the capacity you chose. For example, a 2TB 3.5″ Seagate IronWolf NAS HDD will cost you A$118.12, while the 4TB version will set you back A$164.34, great value considering that doubling of capacity is just $46 more. If you step up to the 8TB version, you then jump to $317.10 per drive, but that may be worth it to you, to not have to worry about storage for years to come.
The price of the NAS itself may shock some people who have never visited this world before, but these are basically mini servers and you can tell from the set of features that you’re essentially buying a really capable product, it’s up to you to extract the most value from the investment. It’s also worth remembering that this 2-bay solution is the start of the range, so that means it’s also the most affordable and I think it’s well priced for what’s on offer.

OVERALL
Final thoughts
After the change of policy from Google, many Android users will be considering their options. Many years ago, I ran a Windows Home Server and managed my own media locally. Of course this had a severe limitation of having to connect my phone to backup photos and videos. Thankfully a modern, connected NAS device like the DS220+ you can get a free mobile app and get the best of both worlds.
If you moved on from local NAS devices to cloud storage, then it’s time to consider your options, given NAS + connectivity now presents a really viable backup solution. Depending on how much media you’re creating a 2-drive solution may not be enough and you may prefer one of Synology’s other products that offer 6 or even 8 drive bays to add to the storage capacity and the redundancy as hard drives do die from time to time.
For the average home, you could use the DS220+ to backup the files and photos of multiple users and the DS7 software is easy enough for anyone to use. Installing additional apps here is no harder than it is in Windows or on your phone, but these apps can significantly enhance the functionality of the device.
Regardless of whether your motivation to consider a NAS is Google’s policy change, or to backup content you’re not currently, I can definitely recommend you add the DS220+ to your short list. It’s a fantastic entry-level NAS that may be the gateway to bigger and better things once you get your head around all the potential applications it offers.
I’m thinking of buying one of these as an Active Directory Server for 80 users, but 5 concurrent logins / devices. What is your experience with the AD feature? I believe you can install Remote Server Administration Tools on another Windows computer to give you full control to AD and group policy? What’s your experience Jason?
Hey Jack, the AD feature is certainly there, I don’t run a domain here locally, so haven’t tried it myself. More details here – https://www.synology.com/en-uk/dsm/packages/DirectoryServer
Does this NAS have Wifi ? I don’t have anything connected by Ethernet any more.
Great review, and I am considering upgrading my old DS212+ to a DS220+. You mentioned “Personally I went with a standard RAID0 setup, to ensure the data I backed up, was replicated across both drives.” . Note that RAID0 does not give you that, instead it will act as one large hard disk. RAID1 gives you data replication.